A spray nozzle is a very useful accessory for any gardener. However, over time it can get stuck on the garden hose due to mineral deposits and corrosion. Removing a stuck spray nozzle can be tricky, but as a professional spray nozzles supplier, I will share several methods that you can try to get it off without damaging the hose.
How to Remove Spray Nozzle
Use WD-40 to Loosen Stuck Nozzle
Before trying to forcibly twist off a stuck nozzle, start by spraying lubricant like WD-40 into the threaded connection. This can help loosen any gunk or mineral deposits binding the nozzle. Allow the WD-40 to soak in for a few minutes. Also wiggle and rotate the nozzle slightly to work the lubricant into the space between the nozzle and hose threads. The lubricant will seep in better if you removed the nozzle seal assembly first.
Getting a Good Grip is Key
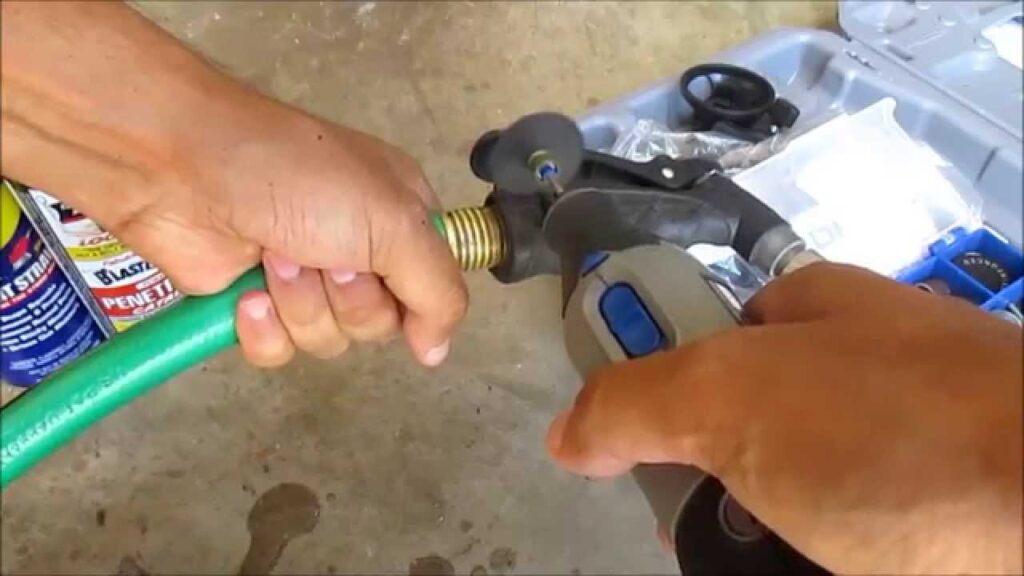
To generate enough torque for removing a stuck nozzle, you need an excellent grip on both the hose and nozzle. I recommend a pair of pliers or locking pliers on the nozzle, gripped as close to the hose as possible. For the hose, wrap it with a piece of rubbery textured material to improve grip. Or you can use a soft jaw plier.
With a helper holding the hose to prevent it twisting, firmly grip the nozzle with pliers, place your other hand over them for leverage, and twist counter-clockwise while pulling. Have your helper also twist the hose gently clockwise. The twisting action in addition to pulling provides better leverage versus just pulling alone.
Apply Heat to Expand the Fitting
If simple mechanical force fails to remove the stuck spray nozzle, apply some heat to expand the metal hose fitting and potentially break loose any corrosion binding threads together.
Use a heat gun set on a medium or low setting, about 250 to 500 degrees F. Apply the hot air stream to hose fitting area near the nozzle for 30 to 60 seconds. Then quickly grip it with pliers while still hot and twist off.
The short blast of heat makes the metal expand slightly to loosen things up without getting it glowing red hot. Avoid directing heat onto plastic nozzle parts as it may melt them.
Rapid Hot and Cold Shock Treatment
An alternate heating method involves immersing just the stuck nozzle and hose end in a bowl of almost boiling hot water for a minute. This rapidly heats the metal. Right after, plunge the heated nozzle and hose end into a bowl filled with ice cubes and water. The rapid temperature change from hot to freezing cold can break loose corroded threads.
Grip the nozzle with pliers immediately upon removing it from the cold water bath while metal is still contracted. Twist firmly to unscrew nozzle before heat dissipates from fitting.
Cut Off Nozzle and Use Repair Coupling
If all else fails, cut the hose an inch or so below where nozzle attaches, slicing through any outer plastic casing to fully sever it. This removes the stuck nozzle attached to that short hose length.
Use a multi-layer hose repair coupling to reconnect cut hose end. This has both internal and external sleeves to seal hose layers and stop leaks. Install per instructions, ensuring tight compression.
Hose Repair Coupling Kit Installation
Slip coupling nut and compression ring onto fresh cut hose end per diagram below:
![hose repair coupling sequence][]
Attach hose end with coupling nut into the coupling body piece already joined to faucet or other hose section.
Hand tighten the coupling nut. Then use pliers and firmly tighten compression ring clockwise onto hose which squeezes it inward for a leak-proof seal.
Connect a new spray nozzle or accessory fitting to renewed hose end and resume watering.
Preventing Stuck Nozzles
To help minimize spray nozzles sticking from corrosion, periodically remove and inspect it. Check for debris trapped inside that could scratch the hose threading it connects to.
Use a wire brush to clear any corrosion on nozzle or hose end threads. Apply a thin coating of silicone grease before reattaching nozzle which protects metal surfaces and makes subsequent removal easier.
Also detach nozzle after finishing gardening instead of leaving it always installed. Turn off hose bib and trigger nozzle to relieve pressure and drain out residual water before storage to limit mineral deposits developing internally which can glue things together over time.
Concluding Thoughts
Removing a stuck spray nozzle takes effort but is usually possible with one of these techniques without rendering the hose unusable. Paying attention to proper cleaning and maintenance makes things much easier down the road.
Hopefully this guide gave you some helpful tips for safely removing a stubborn spray nozzle without damage. Let me know in the comments if you tried any of these methods successfully or if you have any other tricks worth sharing!