Ever tried to water your garden only to find yourself getting soaked instead of your plants?
I’ve been there. And it’s not fun.
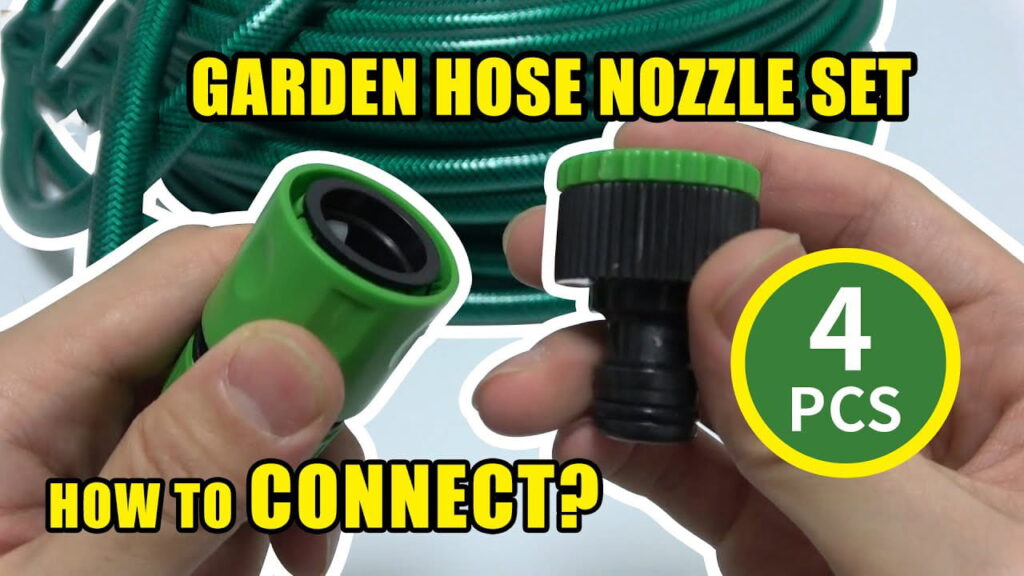
The good news? Learning cómo conectar la manguera de jardín a la boquilla properly is actually super simple once you know what you’re doing.
In fact, a proper connection means the difference between efficient watering and a frustrating, wet experience.
In this definitive guide, as a professional proveedor de boquillas, I’ll walk you through everything you need to know about connecting garden hoses to nozzles in 2025 (including some brand new techniques that most people don’t know about).
Vamos a sumergirnos.
Why Proper Hose-to-Nozzle Connection Matters
First, why should you care about getting this right?
Well, here’s the thing:
A proper connection prevents:
- Water waste (up to 25 gallons per hour from a leaky connection)
- Damage to your garden from uneven watering
- Frustration when your connection fails mid-watering
- Wet clothes (nobody likes that!)
In fact, according to recent data, the average homeowner wastes nearly 2,000 gallons of water annually due to poor hose connections.
That’s not just bad for the environment—it’s literally money down the drain.
Understanding Garden Hose Connector Types
Before we jump into the step-by-step process, you need to understand what you’re working with.
Not all connections are created equal.
Male vs. Female Connectors
Every garden hose has two different ends:
Male connector: Has threads on the outside and typically goes into the female connector.
Female connector: Has threads on the inside and usually attaches to your water source (spigot) or to male connectors.
Think of it this way: the male end “fits into” the female end. (That’s how I remember it.)
Standard vs. Quick-Connect Systems
You’ll encounter two main systems in 2025:
- Standard threaded connectors: The traditional screw-on type that most people are familiar with.
- Quick-connect systems: These allow you to snap components together without threading them (huge time-saver).
Quick-connect systems have become much more popular in 2025 because they’re easier to use, especially for people with arthritis or limited hand strength.
How to Connect Garden Hose to Nozzle: Step-by-Step Guide
Now for the main event: connecting your garden hose to a nozzle.
I’m going to break this down into super simple steps that anyone can follow.
Method 1: Standard Threaded Connection
This is the most common method and works with virtually any hose and nozzle.
Step 1: Inspect Your Equipment
Before you start, check both your hose and nozzle for:
- Damaged threads
- Missing washers
- Dirt or debris in the connections
Pro tip: Many connection problems come from missing washers. These little rubber rings create the water-tight seal.
Step 2: Align the Connections
Take the male end of your garden hose and line it up with the female connection on your nozzle.
Make sure they’re properly aligned before you start turning.
Step 3: Hand-Tighten the Connection
Here’s where most people go wrong: they either under-tighten or over-tighten.
The sweet spot? Turn the nozzle clockwise onto the hose until you feel resistance, then give it about a quarter turn more.
Hand-tight is enough! Using tools can damage the threads and create leaks.
Step 4: Test the Connection
Turn on your water source at low pressure first.
Check for leaks around the connection point. If you see drips, turn off the water and tighten a bit more or check if you need a new washer.
Method 2: Quick-Connect System
If you have a quick-connect system (which I highly recommend), the process is even easier.
Step 1: Install the Base Connectors (One-Time Setup)
If you haven’t already:
- Attach the male quick-connect adapter to your hose end
- Attach the female quick-connect adapter to your nozzle
This is usually a one-time setup that involves threading these adapters just like in the standard method above.
Step 2: Connect the Nozzle
Simply push the nozzle’s female adapter into the hose’s male adapter until you hear a “click.”
That’s it! The connection is now secure.
Step 3: Test the Connection
Just like with the standard method, turn on the water at low pressure and check for leaks.
Troubleshooting Common Connection Problems
Even with the right technique, you might encounter issues. Let’s tackle the most common ones:
Leaky Connections
If water is spraying or dripping from the connection:
- Check the washer: Is it present? Damaged? Replace if necessary (they cost pennies).
- Inspect the threads: Look for damage or cross-threading that prevents a proper seal.
- Clean the connections: Sometimes dirt or debris prevents a tight seal.
- Try plumber’s tape: Wrap the male threads with 2-3 turns of plumber’s tape (clockwise) to create a better seal.
Hard-to-Turn Connections
If you’re struggling to connect or disconnect:
- Use a grip aid: A rubber jar opener provides extra grip without damaging the components.
- Apply a silicone-based lubricant: A tiny amount on the threads can make a huge difference.
- Check for mineral buildup: In hard water areas, calcio deposits can make connections difficult. Soak in vinegar to dissolve.
Connection Won’t Stay Secure
If your nozzle keeps disconnecting:
- Check for worn O-rings: These rubber rings wear out over time and need replacement.
- Look for cracked plastic: Plastic connectors can crack from sun exposure or freezing.
- Verify compatible parts: Not all brands work perfectly together, though most use standard sizing.
Maintaining Your Hose Connections
Want your connections to last longer and work better? Here’s how:
Seasonal Maintenance Tips
- Before storing for winter: Disconnect, drain completely, and store indoors if possible.
- Beginning of season check: Inspect all washers and O-rings for cracks before first use.
- Mid-season care: Occasionally check connections and replace any worn components.
A garden hose properly maintained can last 5-10 years. Connectors that are regularly maintained can last nearly as long.
Cleaning Connections
Mineral deposits and dirt build up over time, especially if you have hard water.
Here’s a quick cleaning method that works wonders:
- Soak connections in white vinegar for 1 hour
- Scrub gently with an old toothbrush
- Rinse thoroughly before reconnecting
Do this twice a season for best results.
Products That Make Hose Connections Easier in 2025
The garden tool market has evolved a lot in recent years. Here are some game-changing products worth considering:
1. Ergonomic Grip Connectors
These feature large, easy-to-grip surfaces that make connecting and disconnecting much easier, especially for those with arthritis or limited hand strength.
2. Auto-Shutoff Quick Connectors
These automatically stop the water flow when disconnected, preventing the “spray in the face” moment we’ve all experienced.
3. Universal Adapters
If you have mismatched equipment or non-standard sizes, universal adapters can make nearly any combination work together.
4. Smart Hose Connectors
New for 2025, these Bluetooth-enabled connectors pair with your phone to monitor water usage and automatically detect leaks.
Different Scenarios for Connecting Hoses and Nozzles
Not all connection situations are the same. Let’s look at some specific scenarios:
Connecting to a Pressure Washer
Pressure washers often require higher-quality connections due to the increased water pressure. Always use connectors rated for high pressure, usually made of brass or high-grade plastic.
Connecting Multiple Hoses Together
When you need extra length:
- Connect the female end of one hose to the male end of another
- Use a double female connector if you have two male ends
- Use a double male connector if you have two female ends
Connecting to Sprinklers and Irrigation Systems
Most sprinklers connect just like nozzles, but permanent irrigation systems might require special adapters to ensure compatibility with your hose.
The Bottom Line: Best Practices for Perfect Connections
After helping thousands of gardeners troubleshoot their watering setups, here are my top tips for foolproof connections:
- Invest in quality: Cheap plastic connectors might save money upfront but cost more in the long run.
- Standardize your system: Stick with one brand or style of connector throughout your garden setup.
- Always have spare washers: Keep a pack of assorted washers in your garden toolkit.
- Disconnect when not in use: This reduces pressure on the connectors and extends their life.
- Hand-tighten only: Never use pliers or wrenches on standard plastic or aluminum connectors.
Conclusión
Learning cómo conectar la manguera de jardín a la boquilla properly is one of those small skills that makes a big difference in your gardening experience.
With the right technique and a few quality components, you can create leak-free connections that make watering efficient and enjoyable instead of frustrating.
Remember: inspect, align, hand-tighten, and test. This simple process will solve 90% of the connection problems most gardeners face.
And if you’re still struggling with cómo conectar la manguera de jardín a la boquilla after following these steps, the problem likely lies with damaged components that need replacement—not with your technique.
What connection problems have you encountered in your garden? Let me know in the comments below!