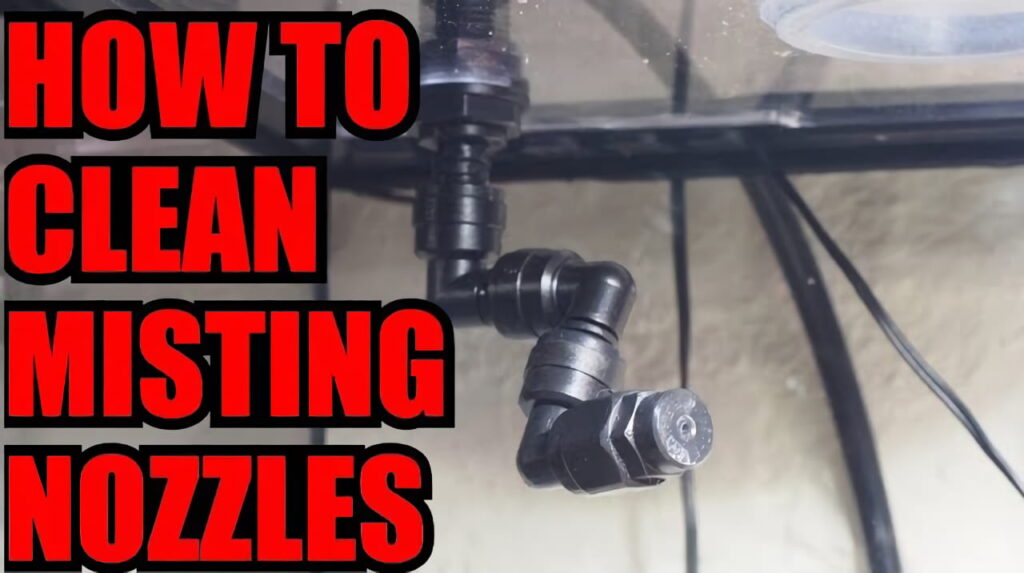
Keeping mister nozzles clean is crucial for proper operation of any misting system. Clogged nozzles can reduce cooling efficiency, alter spray patterns, and even damage equipment if left unchecked. Fortunately, cleaning mist nozzles is usually a simple process. As a professional misting nozzles supplier, I will share it in this post.

Why Mister Nozzles Get Clogged
Mineral deposits from hard water are the main culprit when nozzles get blocked. As water evaporates from the mist, it leaves behind mineral residues that accumulate over time. Bits of debris can also make their way into nozzles.
Signs of clogged nozzles include:
- Reduced spray or mist output
- An off-center or uneven spray pattern
- Leaking from nozzle fittings
Failing to address clogged nozzles leads to bigger problems down the road. Continued use strains the system, pressures fall, and eventually the pump fails if restrictors remain in place.
Effective Cleaning Solutions
While tapping or blowing out light debris might temporarily restore some nozzles, using a chemical cleaner is best for removing stubborn mineral buildup.
White vinegar – Being acidic, vinegar dissolves alkaline salt deposits effectively. Make a 50/50 vinegar and water solution.
CLR (Calcium Lime Rust) – This heavier-duty cleaner quickly breaks down mineral deposits from hard water areas.
Misting line cleaner – Specialty formulations designed for mist lines shift pH to remove residues.
Step-By-Step Method to Clean Mister Nozzles
Cleaning mist nozzles is a straightforward process when done properly. Expect the task to take 30 minutes to an hour.
Prepare the Parts
Gather all necessary tools and materials in one place before starting. Have a container filled with your cleaner of choice ready to go.
Supplies Needed:
- Cleaner – vinegar, CLR or mist cleaner
- Small screwdriver
- Soft brush (old toothbrush)
- Container for soaking
- Fresh water
- Paper towels
Disassemble Mister Nozzles
Use a screwdriver to detach nozzles from their fittings or lines. On some systems nozzles twist off by hand without tools.
Place nozzles in your container as you remove them. Mark their original locations using tape and markers so it’s easy to reinstall them correctly later.
Be careful not to lose any small o-rings or gaskets associated with the nozzles – set these aside someplace safe.
Soak and Brush Mister Nozzles
With all nozzles removed, pour your cleaner solution over them until fully submerged. Let them soak for at least 15 minutes up to a few hours for extreme buildup.
After soaking, use your soft brush to gently scrub the nozzles inside and out. The cleaner solution and brushing action will dissolve most normal dirt and mineral deposits.
Rinse nozzles under fresh running water. Refill your container with clean water and soak again briefly to remove any remaining cleaner solution.
Flush Misting Lines
While nozzles soak, activate the misting system to flush lines with water. Let water run through for several minutes to wash out any loosened debris.
Flushing the lines also checks that pump pressure and flow is restored without blocked nozzles in place.
Reinstall Mister Nozzles
Replace any o-rings and gaskets before reinstalling nozzles into their correct positions. Hand tighten or use your screwdriver to secure fittings.
Activate the system again briefly and inspect nozzle spray patterns. Tighten any leaking fittings. Adjust inconsistent nozzles so all aligned properly.
Clean Filter and Injector
As a final step, shut down water supply and remove filter cartridge and injector components for inspection. Rinse or replace filters as needed. Inspect injectors for debris – flush backward with water or use air to blow them out.
Proper filter and injector maintenance prevents larger debris from ever making into system lines and nozzles in the first place.
Signs It’s Time To Replace You Mister Nozzles
While cleaning restores most mist nozzles, eventually they wear out and need replacement. Indications include:
- Unable to fully clear obstructions
- Corroded or pitted metal
- Constant leakage
- Misshapen spray patterns
Quality brass nozzles used with filtered water can last over 5 years. But when it doubt, replacing them is cheap insurance to protect the rest of your system.
Maintain Peak Performance
Setting up a maintenance schedule prevents nozzle clogging and keeps mist systems operating at peak efficiency.
- Clean nozzles every 3 months or as needed
- Replace filter cartridges every 6 months
- Flush entire system before winterization or long-term shutdown
Properly maintaining a misting system takes only basic tools and few moments each year. And means reliable cooling performance for years to come.
