Misting nozzles are a crucial component of many industrial processes. Whether it’s secondary cooling in a continuous casting operation or humidity control in a greenhouse, misters help dial in the precise amount of atomized fluid needed.
But over time, those narrow openings can get clogged with mineral deposits, debris, and assorted gunk. And a clogged nozzle wrecks your dialed-in processes faster than you can say “My misters aren’t misting!”.
Fortunately, cleaning stubborn nozzle clogs isn’t rocket science. As a professional sisleme nozulları üreticisi, I will share a simple step-by-step guide to get your brass misters back to peak performance.
Pirinç Sisleme Nozulları Nasıl Temizlenir
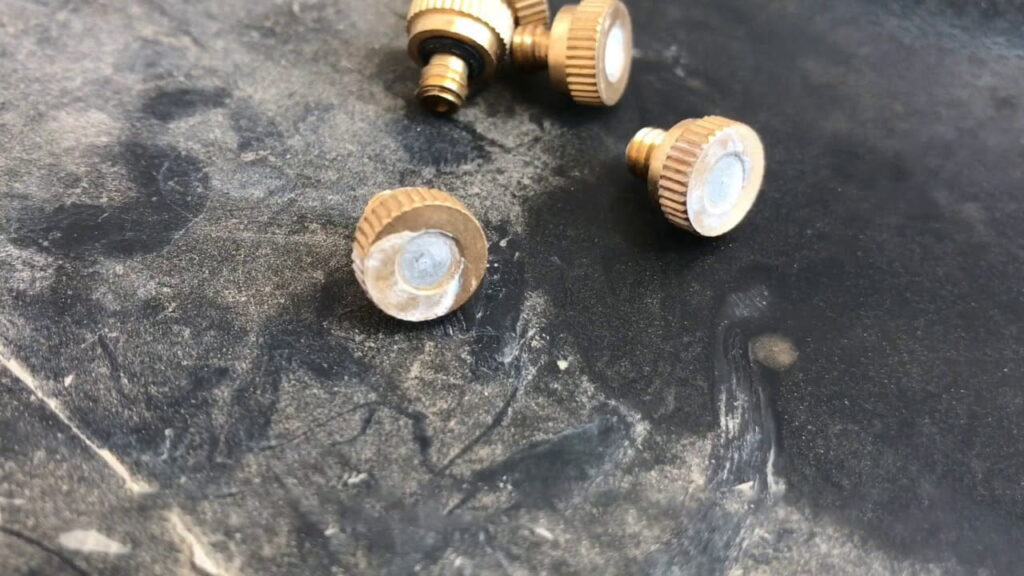
Step #1: Remove the Nozzle and O-Ring
Before you break out the cleaning supplies, detach the nozzle from the misting assembly. This prevents leak damage from fluids seeping into crevices.
While you’re at it, remove the o-ring seal too. Most mist nozzles have an o-ring nestled in a groove on the nozzle’s base.
Here’s how to liberate it:
Gently pry the o-ring free with a small flat screwdriver. Take care not to gouge the soft brass body. Once it’s out, set it aside for later reinstallation.
With the o-ring out of harm’s way, it’s time to break out the cleaning solutions.
Step #2: Soak the Nozzle in Vinegar or a Specialty Cleaner
You’ve got two good options for dissolving caked-on crud: white vinegar or a misting system cleaner like MistingCleanerTM.
If using white vinegar:
- Mix equal parts vinegar and water in a small bowl
- Submerge the nozzle completely
- Let it soak for at least 30 minutes
- Give it a swirl occasionally to dislodge debris
If using a specialty cleaner:
- Fill your bowl with the recommended cleaner concentration
- Soak for the product’s recommended time
I’m partial to white vinegar since A) everyone has it and B) it gives your brass a nice gleaming finish. But both work swimmingly.
After a good long soak, give the nozzle a glance. If you still see debris, it’s time to scrub.
Step #3: Scrub With a Wire Brush
A stiff-bristled wire brush makes short work of stubborn calcium chunks and debris.
Gently scrub back and forth until every last speck disappears down the drain. Pay special attention to the nozzle’s narrow openings since that’s where most gunk accumulates.
When you’re done brushing, plop the freshly scoured nozzle back into the vinegar or cleaning solution for another quick soak.
Step #4: Rinse and Dry Thoroughly
Always flush nozzles with clean water after any chemical soak. This prevents corrosion issues down the road.
Once rinsed, dry immediately with a clean microfiber cloth. Pay special attention to interior passages which can harbor moisture.
If needed, chase lingering drips inside the nozzle with a pipe cleaner.
Leaving moisture behind invites corrosion and gunk buildup. So make sure it’s 100% dry before reinstallation.
Step #5: Reinstall the O-Ring and Nozzle
Before screwing everything back together, inspect the o-ring for cracks or deformation. If it seems questionable, swap in a new one.
Lubricate the fresh o-ring with a dab of misting system grease and gently press it into the nozzle’s groove. Then re-attach the nozzle, taking care not to over tighten.
Finally, run a quick flow test to check your work. If the smooth mist you know and love doesn’t materialize, double check for hidden gunk in pipes or filters.
Özet olarak
Regular nozzle cleanings keep misting systems humming along at peak efficiency for years on end.
And thanks to vinegar’s magic touch, scoured brass often looks nicer than the day it rolled off the assembly line!
So grab a stiff-bristled brush, mix up a vinegar batch, and rediscover the joys of a finely-atomized spray. Your production metrics will thank you!